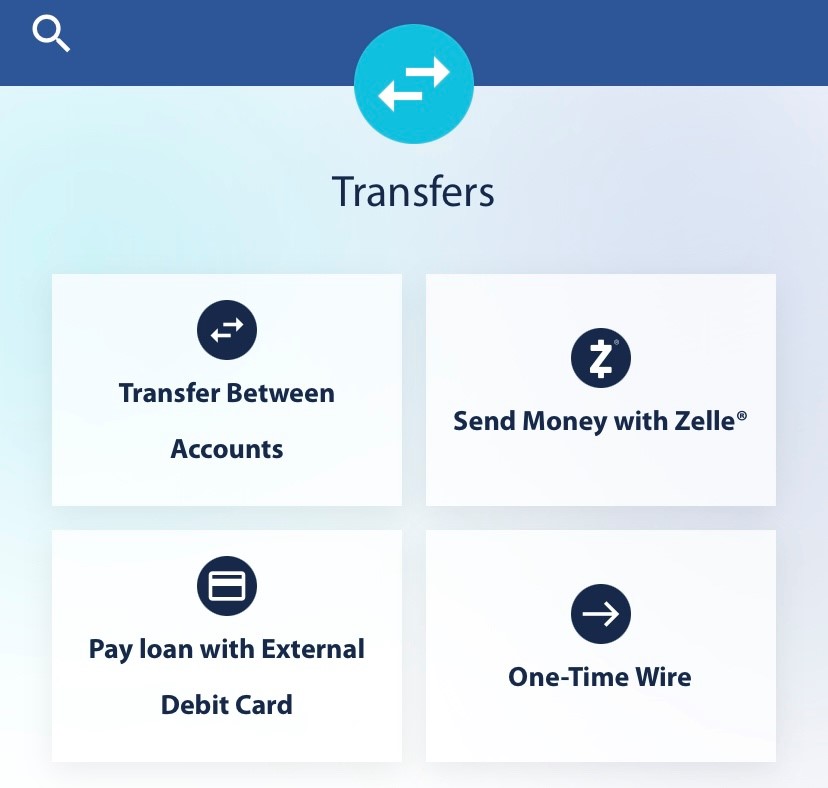
- Navigate to the Make a Transfer tab.

- Under the Transfer pane, select Transfer Between Accounts.
- From the dropdown, select which account to you wish to transfer From.
- Using the dropdown, select which account you wish to transfer To.
- Enter the Amount.
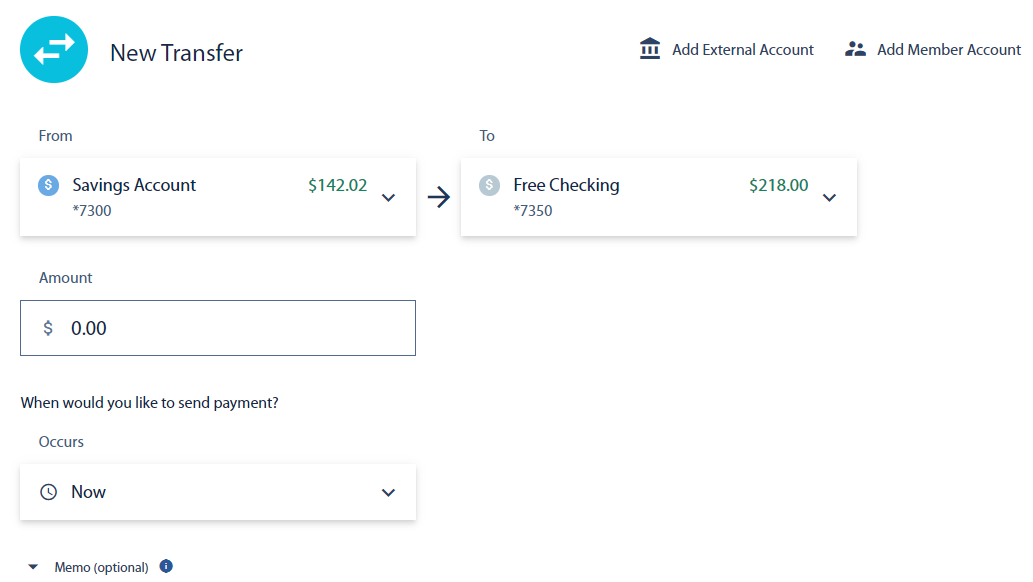
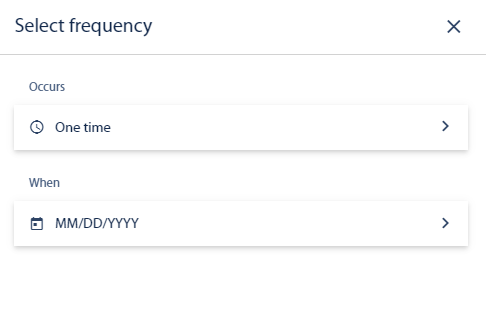
- Select the Frequency from the dropdown menu. Options include; Now, One time, Weekly, Every two weeks, Monthly, Quarterly, Annual.

Note: If you select One Time for the occurrence, you will need to select When the transfer will occur.
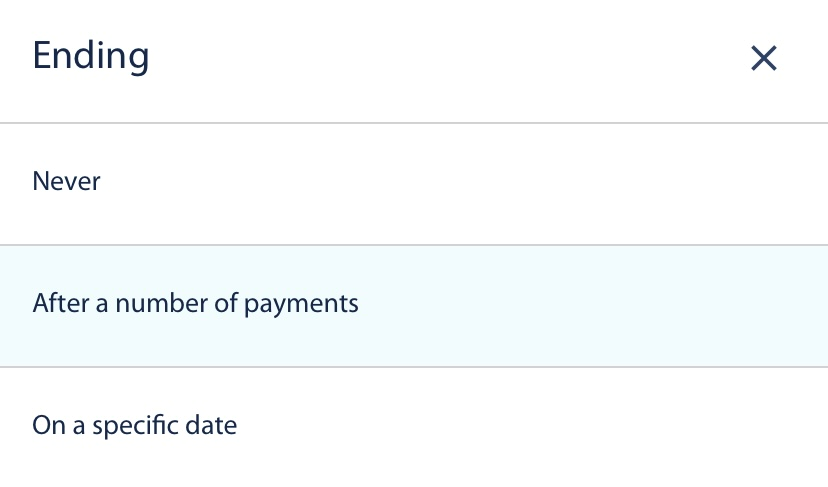
- Set When you would like the recurring transfer to end.
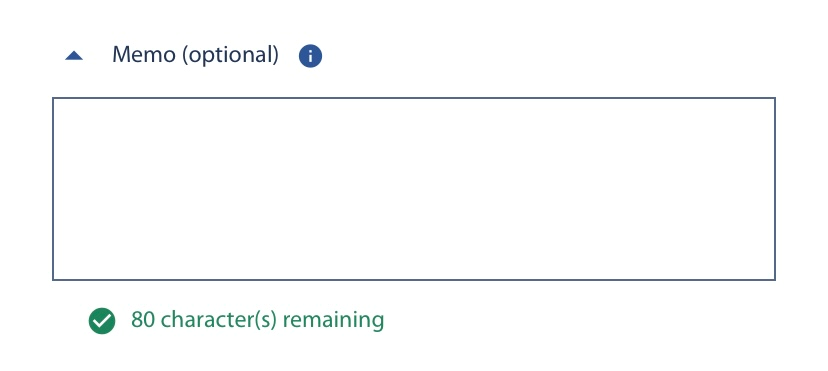
- You can enter a Memo.
- Select Review.
- If no edits need to be made, click Confirm.
Result: You have successfully scheduled a one-time or recurring transfer.