- Navigate to the Transfer tab.

- Under the Transfer pane, select Member to Member Accounts.
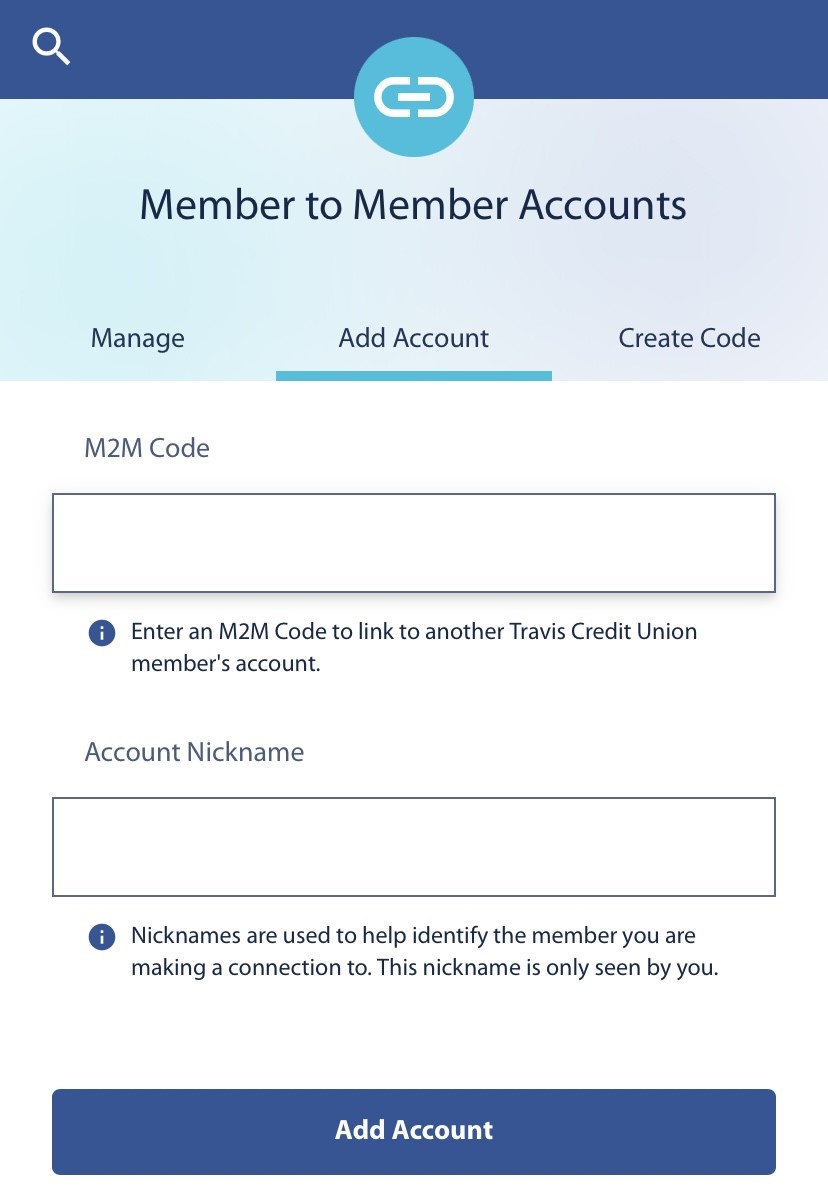
Add Account
In this step you will add the account and create an Account Nickname. An Account Nickname helps distinguish the member you are making a connection to. The Nickname you create will only be visible to you.
- Go to the Add Account tab.
- Enter the Code that was created in the M2M Code field.
- Enter an Account Nickname.
- Click Add Account.
Manage
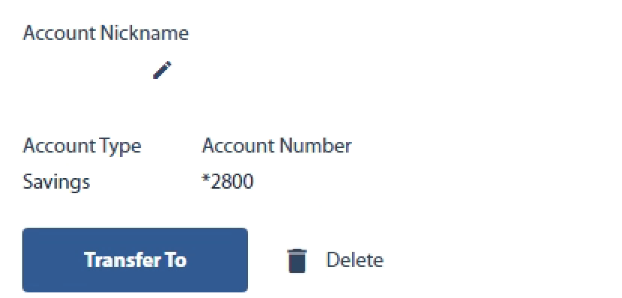
In this step you will see how to transfer to an M2M account. You can also edit the Account Nickname, reset passwords, and delete accounts from the Manage tab.
- Navigate to the Manage tab.
- Click on the Account to which you wish to perform a transfer.
- Click Transfer To.
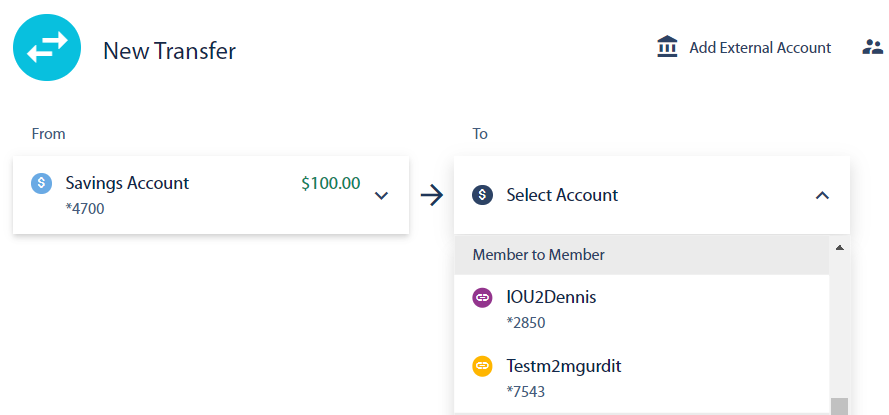
- On the New Transfer screen, the M2M account is preselected as the Transfer To account.
- Using the drop down select which account you wish to Transfer From.
- Enter the Amount.
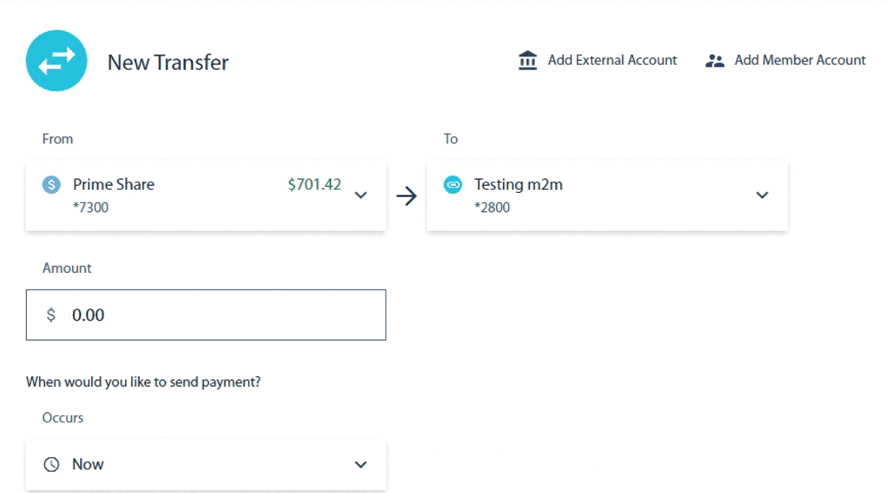
- Use the Occurs dropdown menu to select the frequency of the transfer. Options include; Now, One time, Weekly, Every two weeks, Monthly, Quarterly, Annual.
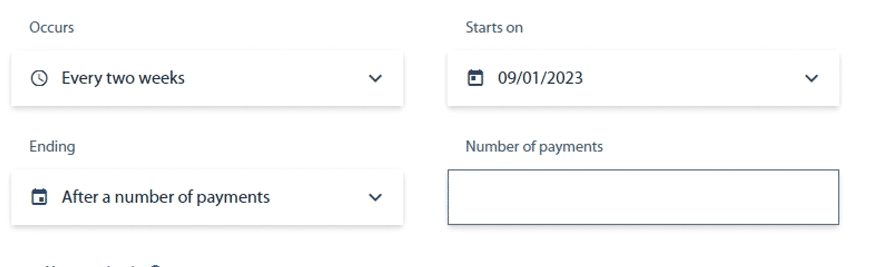
- Set When you would like the transfer schedule to end.
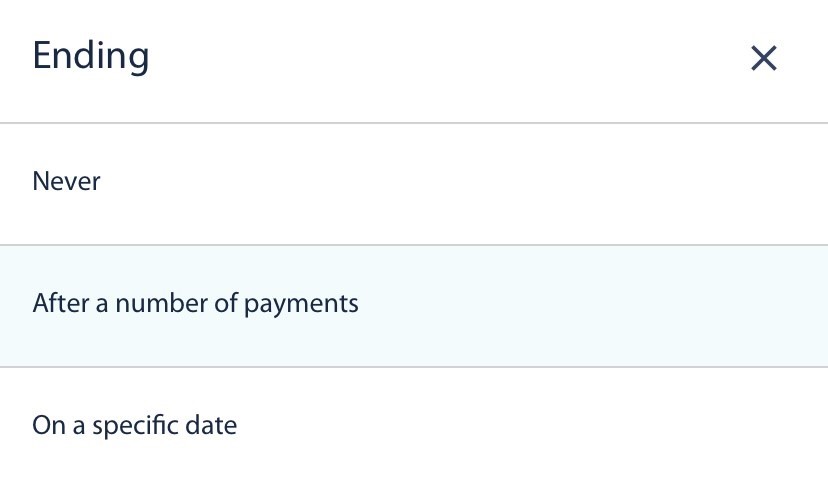
Note: If you selected Now you will not see this option and the transfer will occur once it is submitted.
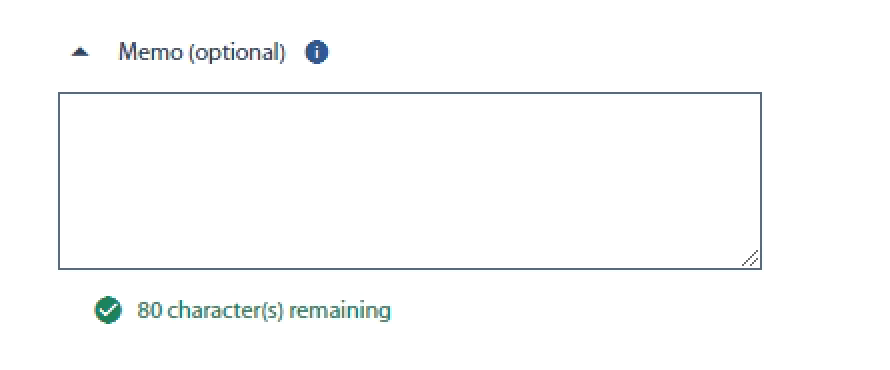
- You can enter a Memo.
- Select Review.
- If no edits need to be made, click Confirm.
Result: You have successfully transferred money between TCU accounts.